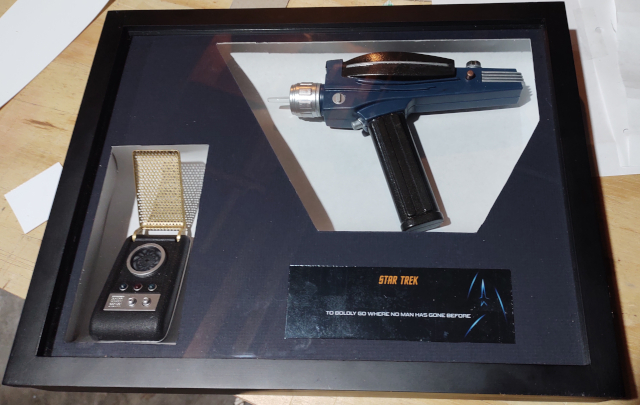
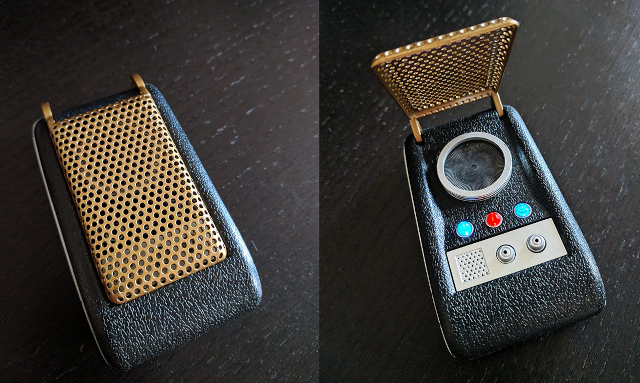
Unlike today's Space Force member, the Every Day Carry for a crewman of the Enterprise includes the very best Starfleets arsenal can offer. A Type-2 Phaser (shown here) or Phaser pistol is a typical hand-held directed-energy Phaser sidearm used by Starfleet and United Federation of Planets personnel. More powerful and generally larger in size than the Type-1 Phaser, the Type-2 Phasers are kept aboard Starfleet and Federation Starships, Starbases, Space Stations, and at Planetary Facilities. The companion to the Phaser is the portable communicators. Employing a flip-top design, the communicator (Once flipped open) locks onto the originating ship's communications system using subspace frequencies.
While browsing eBay one day, I ran across this little gem.
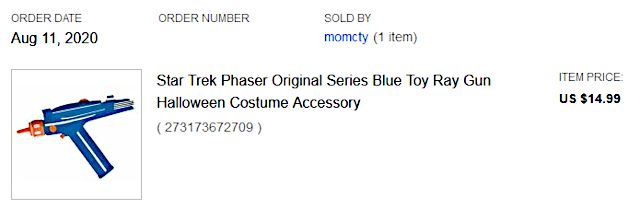
Now don't let the $15 price tag fool you. To get a replica of the Star Trek TOS Type-2 Phaser starts at around $60. Not something I'm willing to spend.
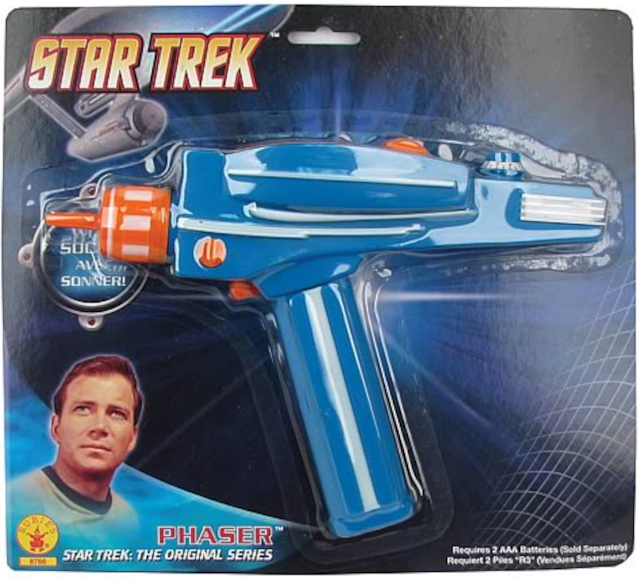
Looking it over, I could see that structurally it was perfect. Except for one small part that I could easily add using the butt end of a pen. So I quickly put it on a shelf to get around to later... Time moved on.
A few days later, I ran across the classic flip top communicator. Well, you can see what I did about that.
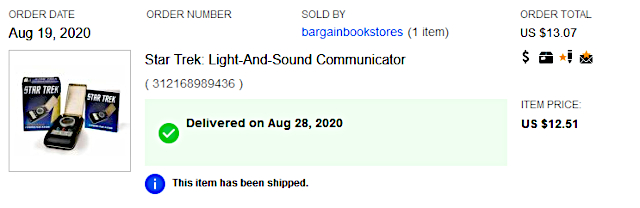
And it was perfect. No changes needed.
So, on the shelf it landed.
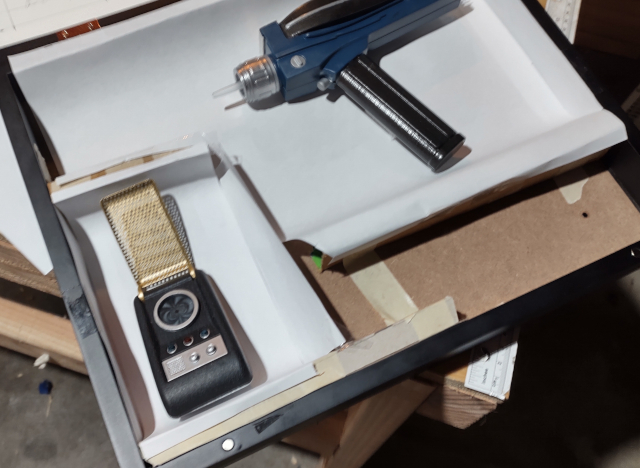
Some time ago I had found a couple of shadow boxes on sale at the Hobby Lobby for like 90% off. One of those i used for the Raccoon PD build, the other was perfect for this one. So the first thing I needed to do was get that phaser off the shelf.
Pulling it from the package, this is what I wound up with.

Side View

Top View
I could see the first thing I needed to do is pull it apart.

Parts View
Prepping the parts; first by rubbing all of the parts down with a scotch bright so the paint would stick. I then drilled out the nose cone. Placing a stick of acrylic into the chuck of a drill, I used sand paper and a file to shape it into the phaser nose cone. Applying 3 coats of grey primer, some gentle sanding and masking, I applied the paint carefully.
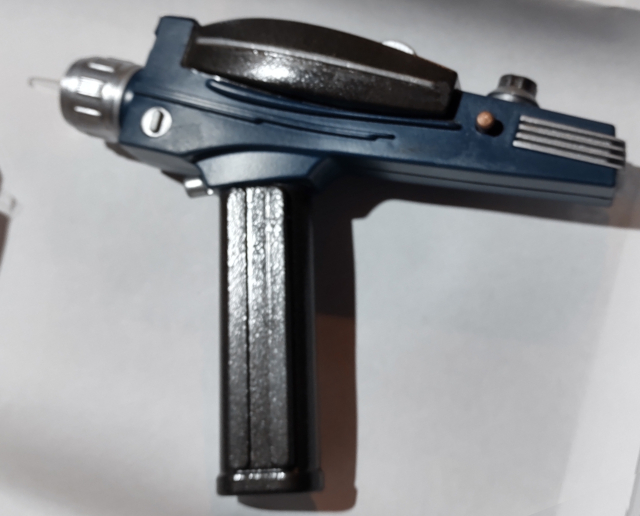
Note the copper looking pin towards the rear. That's the part I added using the butt end of a ball point pen.

I couldn't resist
So the next thing I needed to do was prep the shadow box.
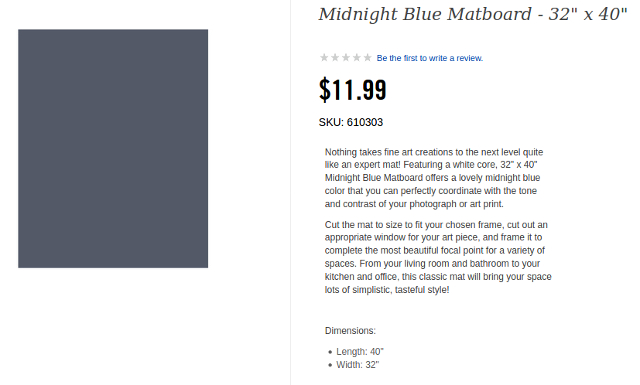
Using this leftover Matboard from the Stargate SG1 build, I cut out the carefully designed display holes.
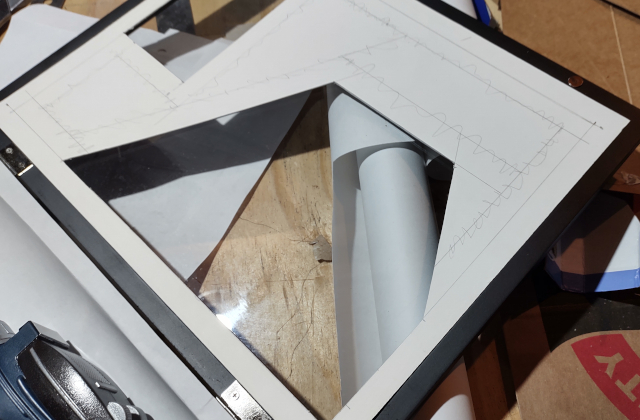
Than, using cardboard and white paper I carefully crafted the background.
Looks a lot better when you close the door.
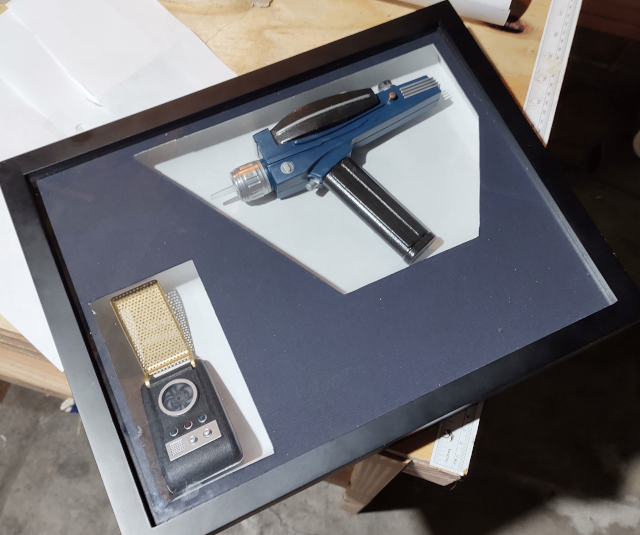
Hmmmm, needs something...

Yeah, to boldly go where no "one" has gone before. They didn't replace "man" with "one" till the next generation.