
I'd like to introduce you to my Best Friend. This is Milo, and yes, he's my best friend. He is 20 years old now, and still a pain in my...
Well, anyways, back to the point. I wanted to get a really nice picture of him, so with a sheet of white paper in the background and my phone on a tripod, I sat him on a table and petted him and caressed him for hours while yelling at my phone "Ok Google, take a picture".
I have hundreds.

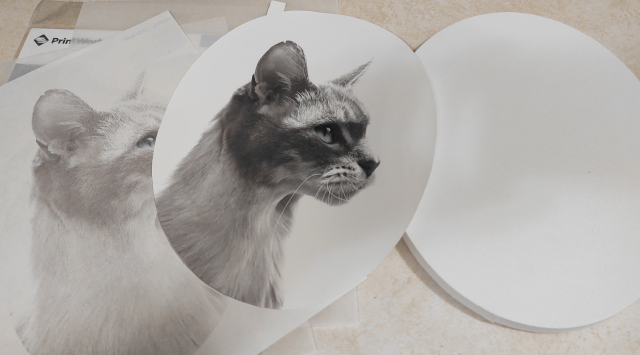
As I went through the pictures I found this amazing picture. It was perfect. I just had to do something extra special with it. Just a photo wasn't enough. So with an idea in mind, I went on Walmart's web site to buy a canvas print. I thought 'what a perfect way to display it'. In my mind I had imagined a beautiful elliptical painting surrounded by a golden frame... Well, something like that.
Instead I found a very disappointing selection of rectangular canvas sizes. Disappointed as I was, I have a solid rule of not spending money on something I don't want. As it turns out, I couldn't find a place that did elliptical prints.
An Idea began to form... "Why can't I do it myself?" What would I need? The elliptical canvas for one. But how to get the picture on it?
Iron On!
Yea, why not. Why couldn't I put an 'Iron On' that I'd otherwise use for a T-Shirt, and put it on canvas?
With this thought in mind (and already having a package of Iron Ons), I went to work.

I found my canvas at Hobby Lobby (I swear, I should just move in over there).

And next I needed the "Clear" Acrylic paint. Not knowing what I was looking for or how much, I bought a small tub of this clear acrylic medium gel (which was way more then i needed and a bit pricey).

Now as it turns out, I could have bought a small tube of it for a few bucks.
Now that I had the materials I needed to prep for the Iron On.
I had to make sure I placed a piece of cardboard with supports to provide a solid surface to press the iron down onto. This is very important.
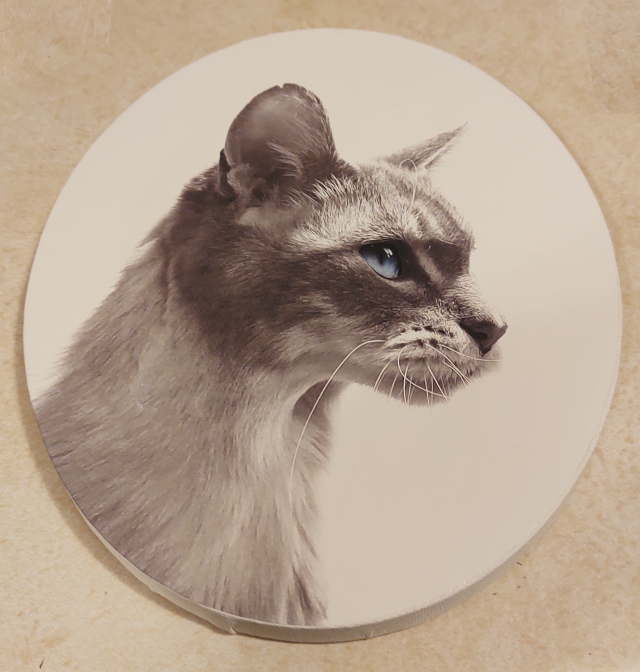
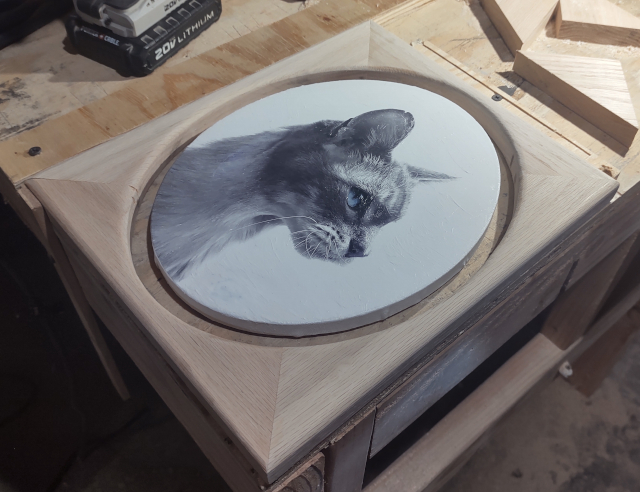
Using a large flat brush (about an inch and a half), I applied a generous coating of the Gel on the white areas. Than, working with a much smaller fine tip brush on the image itself. Following the direction of his fur.

Once this has dried, it's nearly impossible to tell this is not an ACTUAL painting.

The next thing I had to consider was a frame.
Now I could have gotten a cheap plastic frame for a few bucks, or I could spend a whopping $4.00 for Oak, and do it myself. ;-)
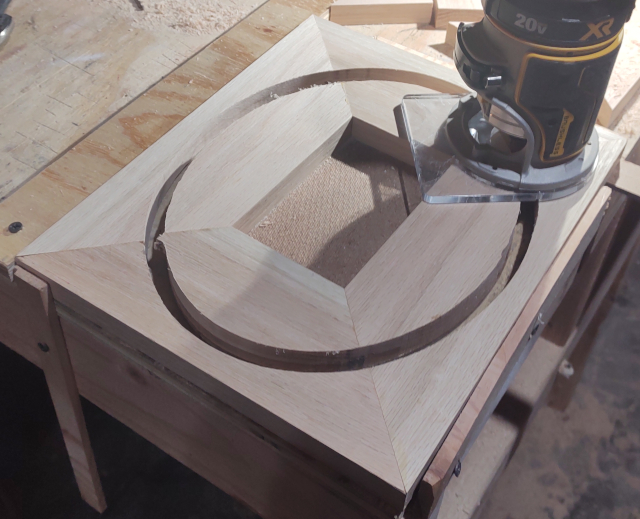
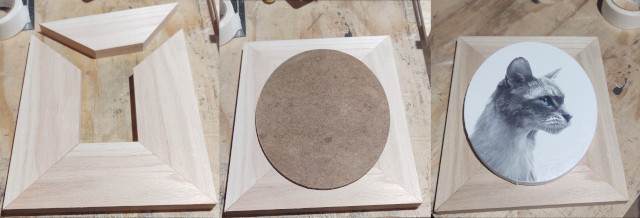
Once I glued the boards together, I cut out the ellipse using my router.
Now, you might notice right off that the frame is too big. Well, don't worry, it's supposed to be. This is known as a floating frame. The canvas should not touch the edges. I originally considered just a ring, but once I saw it this way, the Ring Shaped Floating Frame would seem dull.
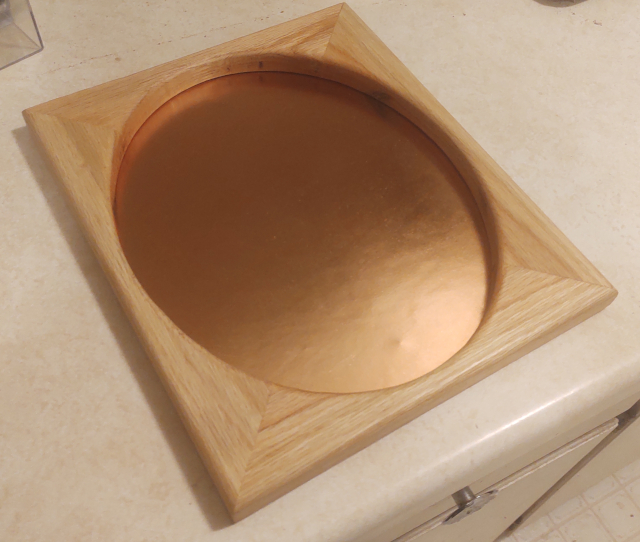
Now, most floating frames will either have a black or transparent acrylic back for the floating effect. I was less worried about that and more impressed with the copper sheen from this paper stock I picked upat Hobby Lobby for $1.50.
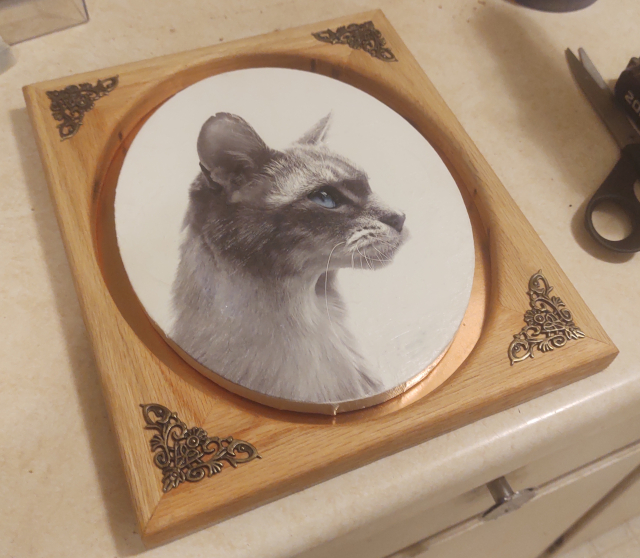
For an additional $2.50 I picked up these corner pieces to fill the void the corners provided.
